This chewy granola bar recipe makes a delicious, better-for-you snack! Throw in everything but the kitchen sink – you have plenty of substitution options to find your favorite granola bar combo!
I think we can all agree that the hardest part about eating real food is where to begin, right?
And it can be even harder when you are DEAD SET on having certain foods. Like granola bars.
My husband used to EXCLUSIVELY eat chewy chocolate chip granola bars from Quaker. Those were his snacks at work, but he’d eat 3-4 bars every day!
At $3-4 per box and 2-3 boxes each week, we were going broke on granola bars alone!
That’s when I first came up with this homemade granola bar recipe, and he loved it!
HEALTHY HOMEMADE GRANOLA BAR RECIPE
Not only did my husband love this healthy granola bars recipe, but it was a winner all around! Personally, I like this recipe because:
- I can mix and match the nuts, seeds, and fruit (based on what I have).
- It’s cheap!
- It’s super healthy
- They’re shelf-stable and don’t have to take up fridge or freezer space.
- It’s hearty and will actually hold people over to the next meal
Plus, this is a GREAT recipe when you’re trying to get your family to eat less processed food. It’s a bit sweeter than a “healthy” bar is, making it a good first step out of boxed food and into homemade foods.
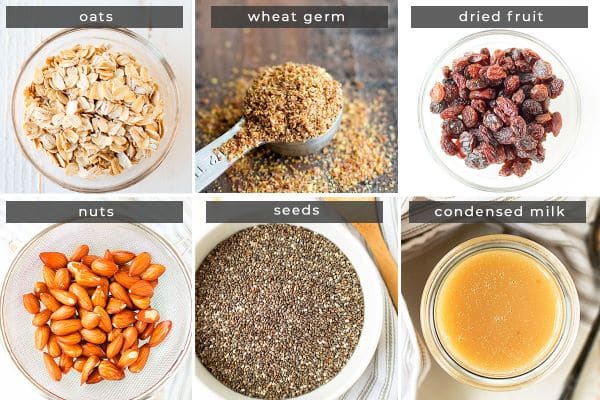
INGREDIENTS FOR HOMEMADE GRANOLA BARS
It might feel like you’re adding everything but the kitchen sink to these homemade granola bars, but the ingredients can be grouped into base, nuts and seeds, fruit, and glue:
Base Ingredients:
Your base provides the bulk of the granola bar recipe. Here we’re using oats.
- Old Fashioned Rolled Oats. You can use quick-cooking oats in a pinch, but rolled oats carry a bit more oomph in the belly.
- Wheat germ. If you don’t have wheat germ or need this recipe to be gluten-free, oat flour is a great substitute.
Nuts and Seeds:
You need 2 cups in total. Use what you have on hand and what flavor your family likes. Here are some ideas:
Dried Fruit:
You need 2 ½ cups total, and like the nuts, substitute with what you have on hand. You can also add a sweet treat here, like mini chocolate chips.
Glue:
This is what holds the granola recipe bar together.
Looking for a no bake granola bars recipe? Try this Peanut Butter Chocolate Chip Granola Bars Recipe instead!
INSTRUCTIONS HOW TO MAKE GRANOLA BARS
The method for making chewy granola bars with condensed milk is pretty simple:
Step 1. Line an 8×8 or 9×9 glass baking pan with two large pieces of parchment paper that overhang the edges. You want to create “handles” on each edge to help lift the granola bars out of the pan once they’re cooled. Preheat the oven to 350 degrees.
Step 2. Chop any big pieces of fruit into smaller pieces. Everything should be about the size of a dried cranberry. You don’t want to take one bite and get a mouthful of fig. (Trust me on this one.)
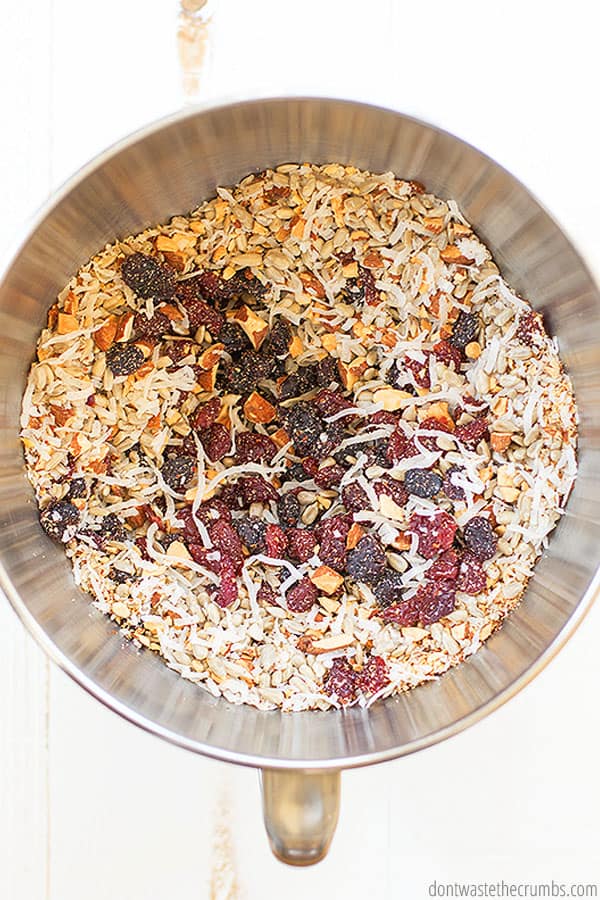
Step 3. Once everything is chopped, put everything except the oats and milk into a large bowl. Mix the fruit and nuts thoroughly, breaking up any pieces of fruit that are stuck together. Add the oats and mix thoroughly again. Add the milk and stir until all (or nearly all) the ingredients are moist.
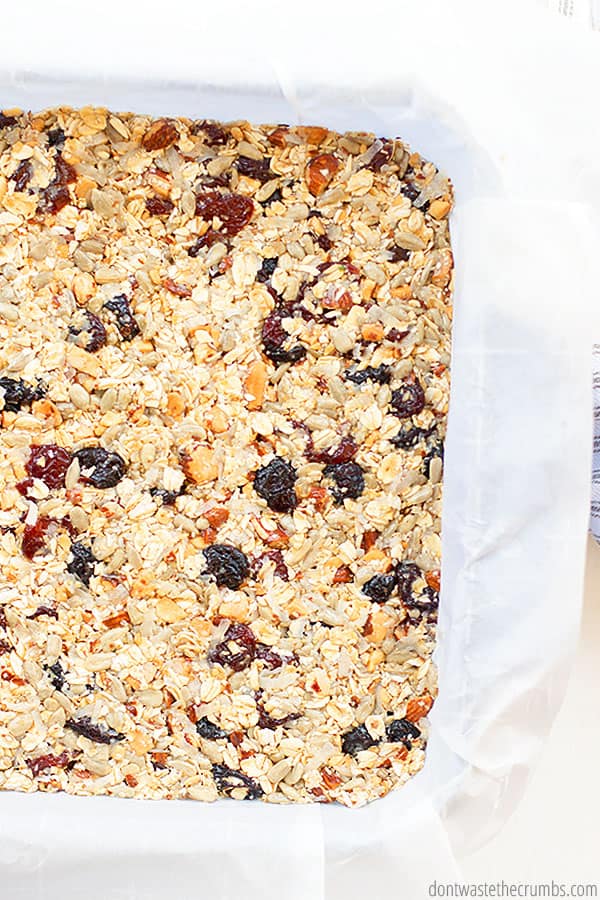
Step 4. Carefully pour (or scoop) your mixture into your glass baking dish. Using either greased hands or another piece of parchment paper, press the mixture very firmly into the bottom of the pan, ensuring that it’s level across the pan and into corners.
In order to press it firmly enough, I had to put the pan on the floor and use my full body weight. This may sound silly, but it was effective!
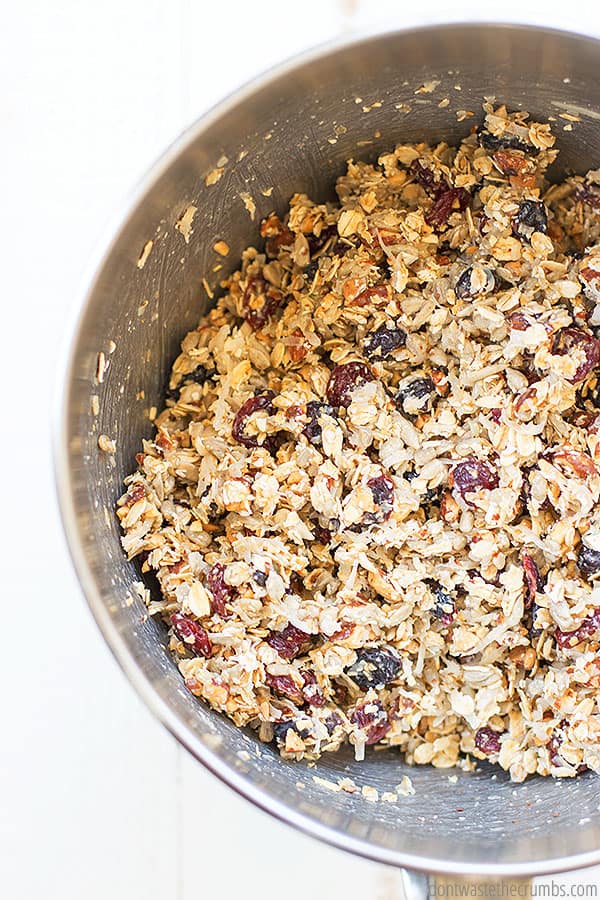
Step 5. Once the mixture is pressed firmly and evenly, bake in the preheated oven for about 20 minutes. You want the edges to be slightly brown, so check every few minutes or so after you hit 20.
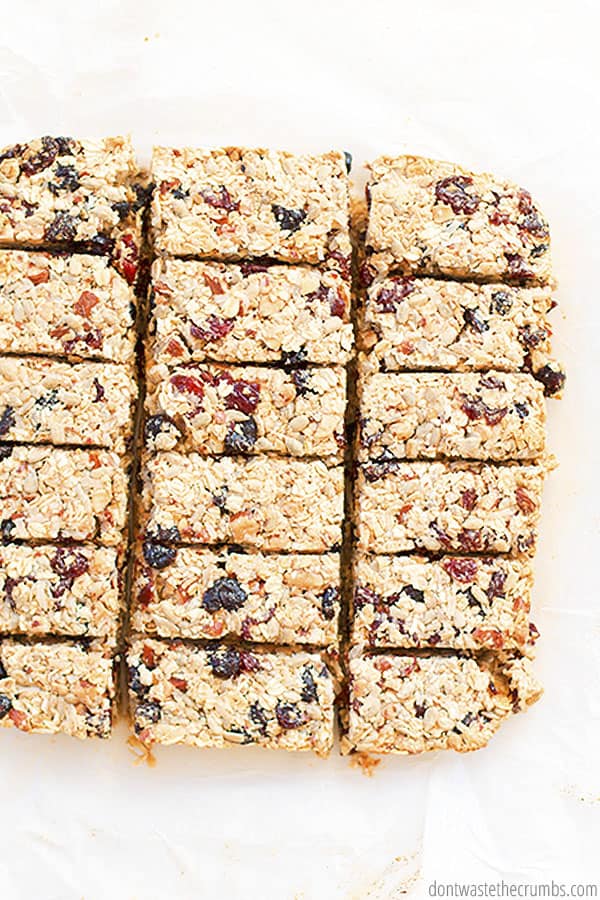
Step 6. Remove from the oven when the homemade granola bars are done. Cool completely on a wire rack before cutting.
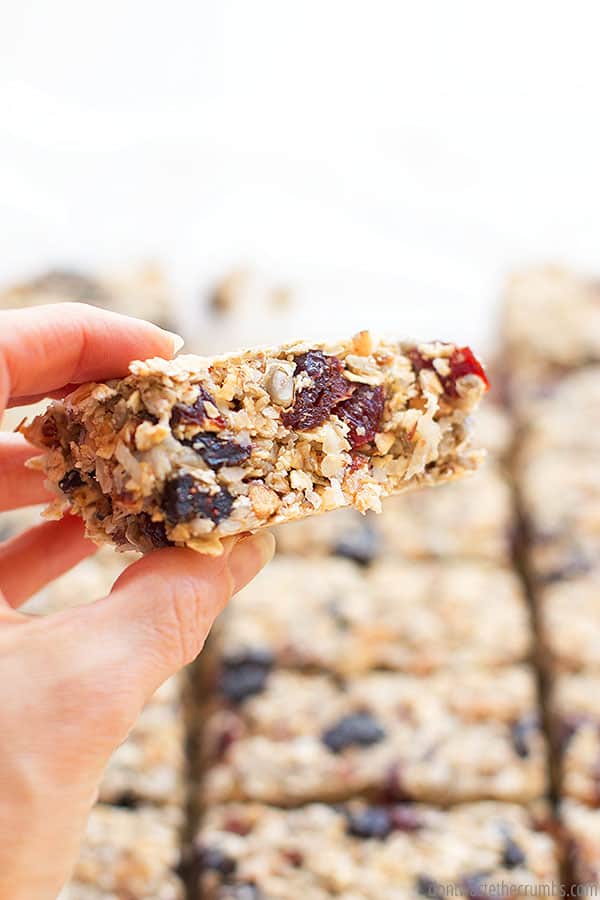
GRANOLA RECIPE BAR TIPS
The only trick with this particular granola recipe bar is that you really want to press the mixture into your pan firmly. As in, REALLY REALLY HARD.
I’ve taken parchment paper and put it over the top of the granola bars and stood on top of it – that’s how firmly packed you want the mixture to be!
This ensures that the bars stick together and won’t crumble after they’re done baking and hold up to handling while eating.
Make these vegan granola bars by making your own dairy-free sweetened condensed milk using the tutorial here.
If you need the convenience of single-serve on-the-go granola bars, wrap each bar in plastic wrap before storing them in an airtight container. You can grab one or two on the way out the door without getting sticky!
GRANOLA BAR RECIPE RATIOS
If you would like to modify this granola bar recipe, here’s where the science stuff comes into play. No matter what combination of fruits and nuts you want to use (apples, raisins, chocolate chips, walnuts, macadamia… etc.), you need about 5 cups total add-ins for the above measurements of oats and milk to work. If you want less or more bars, here’s the math:
(total cups of fruits and nuts) / 3 = (cups of oats)
(cups of oats) / 2 = (cups of milk)
Want to put this in a 9×13 pan? Double the recipe: 10 cups of fruits and nuts, 3⅓ cups of oats, and just over 1½ cups of milk. If you only have 4 cups of fruit and nuts, use the formula above to get the right amount of oats and milk.
Experience from failed attempts leads me to believe that your measurements can be slightly off. Not by a ton, but a little spillage of cranberries or picked-out chocolate chips won’t ruin the batch.
GRANOLA BAR RECIPE FAQS
How do you get granola bars to stick together?
In this granola bar recipe, the sweetened condensed milk and flax seeds are the “glue” to hold the granola bar together. In my Chewy Chocolate Chip Granola Bar Recipe, the honey and coconut oil make the granola bar stick together. Either way, the most important part is to press the granola bars into the pan really well to help them hold together.
Are homemade granola bars good for you?
Yes – as long as your ingredients are healthy! Using sweetened condensed milk isn’t the healthiest option, but it’s better than buying boxed granola bars. It’s a great first baby step to eating real food!
How long do homemade granola bars last?
These granola bars will last about a week on the counter. You can freeze them for longer storage if you’d like.
OTHER EASY HOMEMADE SNACK RECIPES
Fight Inflation Workshop!
Sign up for my FREE Fight Inflation Workshop and learn simple strategies to save money, even with rising food costs!
Homemade Granola Bar Recipe
This chewy granola bar recipe makes a delicious, better-for-you snack! Throw in everything but the kitchen sink – you have plenty of substitution options to find your favorite granola bar combo!
- Prep Time: 5 minutes
- Cook Time: 20 minutes
- Total Time: 25 minutes
- Yield: 8 servings 1x
- Category: Snack
- Method: Oven
- Cuisine: American
Instructions
- Line an 8×8 or 9×9 glass pan with two large pieces of parchment paper that overhang the edges. You want to create “handles” on each edge to help lift the granola out of the pan once it’s cooled. Preheat the oven to 350 degrees.
- Chop any big pieces of fruit into smaller pieces. Everything should be about the size of a dried cranberry. You don’t want to take one bite and get a mouthful of fig. (Trust me on this one.)
- Once everything is chopped, put everything except the oats and milk into a big bowl. Mix the fruit and nuts thoroughly, breaking up any pieces of fruit that are stuck together. Add the oats and again mix thoroughly. Add the milk and stir until everything all (or nearly all) the ingredients are moist.
- Carefully pour (or scoop) your mixture into your glass pan. Using either greased hands or another piece of parchment paper, press the mixture very firmly into the bottom of the pan, ensuring that it’s level across the pan and into corners. (In order to press it firmly enough, I had to put the pan on the floor and use my full body weight. This may sound silly, but it was effective!)
- Once the mixture is pressed firmly and evenly, bake in the preheated oven for about 20 minutes. You want the edges to be slightly brown, so check every few minutes or so after you hit 20.
- Remove from the oven when the homemade granola bars are done. Cool completely on a wire rack before cutting.
Notes
- If you would like to modify the recipe, here’s where the artsy science stuff comes into play. No matter what combination of fruits and nuts you want to use (apples, raisins, chocolate chips, walnuts, macadamia… whatever), you need about 5 cups total for the above measurements of oats and milk to work. If you want less or more bars, here’s the math:
(total cups of fruits & nuts) / 3 = (cups of oats)
(cups of oats) / 2 = (cups of milk) - Want to put this in a 9×13 pan? Double the recipe: 10 cups of fruits & nuts, 3⅓ cups of oats and just over 1½ cups of milk. If you only have 4 cups of fruit and nuts, use the formula above to get the right amount of oats and milk.
- Experience from failed attempts leads me to believe that your measurements can be slightly off. Not by a ton, but a little spillage of cranberries or picked out chocolate chips won’t ruin the batch.
Nutrition
- Serving Size: 1 bar
- Calories: 132


